As soon as a module is connected via USB to a computer (Windows, MAC, Linux), it automatically switches to bootloader mode. This can also be recognized by the corresponding flash-Code of the status LED.
In bootloader mode, a virtual drive is created on the module, which then appears as a connected flash drive on the USB host computer. The application -created in the editor- can now simply be placed on this flash drive via drag’n’drop.
Content of the flash drive
The following files are visible on the flash drive:
- the application (xxx.UF2)
- the firmware (FWxxxxxx.UF2)
- a info file (INFO_UF2.TXT)
- a INDEX.HTM (contains a link to the editor)

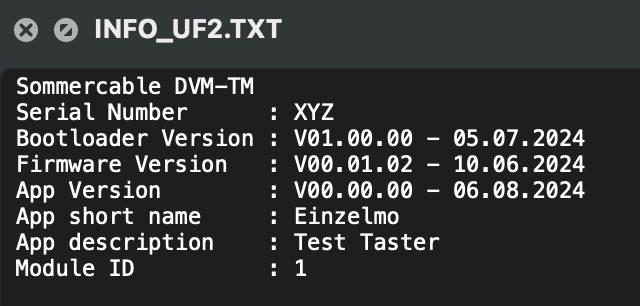
Content of the INFO_UF2.TXT
The info file contains all contains all the necessary information about the connected module. This includes:
- the serial number
- the bootloader version
- the firmware version
- the version of the application
- the short name of the application (limited to 8 characters in the editor)
- the description of the application (limited to 64 characters in the editor)
- the module ID in the bus
IMPORTANT NOTES
It is not possible to run the application in bootloader mode – this only happens automatically as soon as the USB connection to the module has been disconnected!
In some situations – especially under Windows – it is possible that the host OS does not dynamically change the content of the flash drive, e.g. after a new application or new firmware has been copied to it. In this case, it is advisable to briefly disconnect the module from the host and then reconnect it!